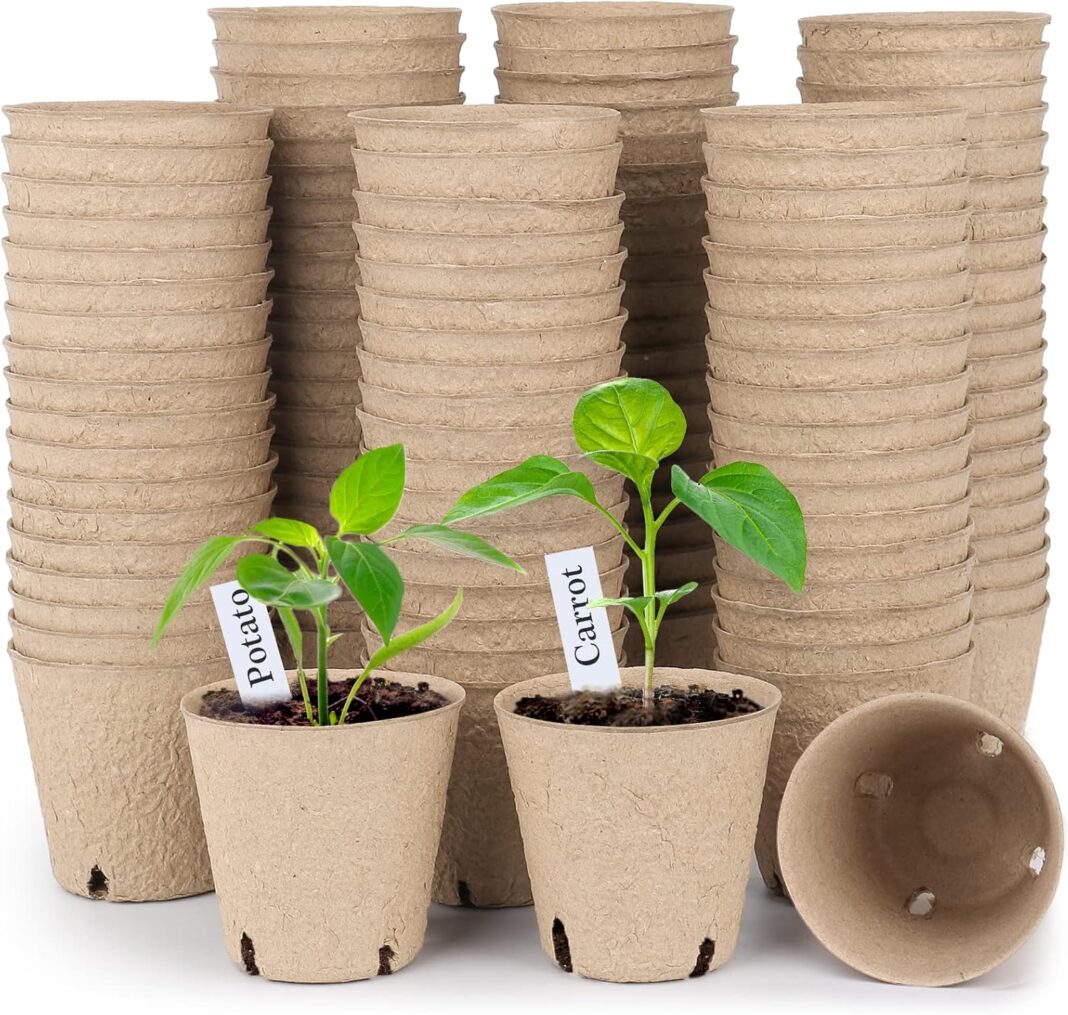
Spring is here, and with it comes the perfect opportunity to breathe new life into your garden. The days are getting longer, the temperatures are rising, and the soil is waking up from its winter slumber. Now is the time to get your hands dirty, prep your garden beds, and get those seeds in the ground for a bountiful growing season. Let’s break down the essentials of spring garden preparation, focusing on soil health and seed planting.
Step 1: Assess and Prepare Your Soil
Healthy soil is the foundation of a thriving garden. After months of winter weather, your soil might be compacted, nutrient-depleted, or even waterlogged. Start by assessing its condition. Grab a handful of soil—if it’s too wet and sticks together in a tight ball, it needs better drainage. If it’s dry and crumbly, it might be lacking organic matter.
Clear the Area: Begin by removing any debris, weeds, or leftover plants from last season. Weeds can steal nutrients from your new plants, so pull them out, roots and all.
Test Your Soil: A simple soil test kit, available at most garden centers, can tell you about your soil’s pH and nutrient levels. Most vegetables prefer a pH between 6.0 and 7.0. If your soil is too acidic, add lime; if it’s too alkaline, incorporate sulfur.

Loosen and Aerate: Use a garden fork or tiller to break up compacted soil. This improves aeration and helps roots penetrate more easily. Be careful not to over-till, as this can disrupt the soil’s natural structure.
Add Organic Matter: Mix in compost, well-rotted manure, or leaf mold to enrich the soil. These amendments improve fertility, enhance drainage, and encourage beneficial microbial activity. Aim for a 2- to 3-inch layer worked into the top 6 inches of soil.
Step 2: Plan Your Planting
Spring is prime time for planting cool-season crops that thrive in milder temperatures. Think leafy greens, peas, radishes, and carrots. Before you start, check your region’s last frost date—most cool-season crops can be planted a few weeks before this date, as they can handle light frosts.
Choose Your Seeds: Select high-quality seeds suited for your climate. If you’re new to gardening, try easy-to-grow options like lettuce, spinach, or snap peas. For a head start, you can also use seedlings for crops like broccoli or kale.
Map Out Your Garden: Plan where each crop will go, keeping in mind their sunlight and spacing needs. Rotate crops from last year to prevent soil-borne diseases and nutrient depletion. For example, don’t plant tomatoes in the same spot where you grew them last season.
Step 3: Get Those Seeds in the Ground
With your soil prepped and your plan in place, it’s time to plant. Follow these steps for success:
Follow Seed Packet Instructions: Each crop has specific planting depths and spacing requirements. As a general rule, plant seeds at a depth of about twice their diameter. For tiny seeds like lettuce, this might be just a light sprinkle of soil on top.

Spring Is the Time to Get Your Garden Ready
Sow Evenly: For small seeds, mix them with sand to help distribute them more evenly. For larger seeds like peas or beans, plant them individually to ensure proper spacing.
Water Gently: After planting, water the area lightly to settle the soil around the seeds. Avoid overwatering, which can displace seeds or cause them to rot. Keep the soil consistently moist but not soggy as the seeds germinate.
Label and Monitor: Mark your rows with labels so you don’t forget what you planted where. Keep an eye on your garden over the next few weeks—most cool-season crops germinate within 7 to 14 days, depending on the weather.
Bonus Tips for Spring Success
- Mulch for Protection: Once your seeds are in, add a thin layer of organic mulch like straw or shredded bark. This helps retain moisture, regulate soil temperature, and keep weeds at bay.
- Protect Against Late Frosts: If a surprise frost is in the forecast, cover your seedlings with frost cloth or even an old bedsheet overnight.
- Start Indoors for Warm-Season Crops: While you’re planting cool-season crops, consider starting tomatoes, peppers, and eggplants indoors. They’ll be ready to transplant once the weather warms up.
Spring gardening is all about timing and preparation. By getting your soil in shape and planting at the right time, you’re setting the stage for a productive season. So grab your gloves, dig into that soil, and get those seeds in the ground—your future harvests will thank you!


